[1] 주석
1. HTML5
<!-- HTML Comments -->2. CSS3.0
/* CSS Comments */3. JavaScript
// JavaScript Comments
[2] Bootstrap template 받아서 Python Anywhere 업로드하는 과정
1. Django setting은 어제 수업에서 [1] Web Application Settings 진행
(home.html은 없어도 됨)
https://powerstone829.tistory.com/26
2. Bootstrap에서 template download 및 프로젝트에 위치 시키기
1) template 받을 수 있는 사이트
https://uicookies.com/free-bootstrap-portfolio-templates/
2) zip파일 받아서 압축 풀기
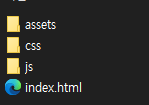
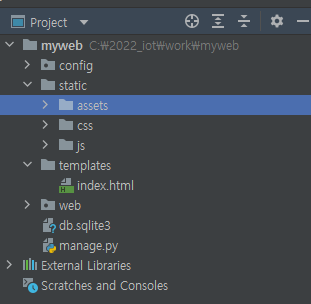
3) assets, css, js 폴더는 프로젝트의 static 폴더, index.html 파일은 templates 폴더에 붙여넣기
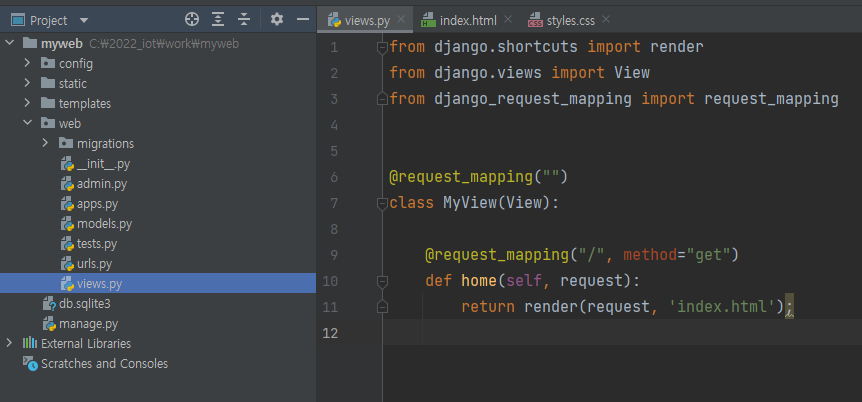
4) web/views.py 수정
- html 파일명 수정 -> index.html
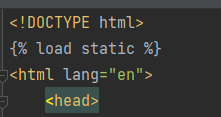
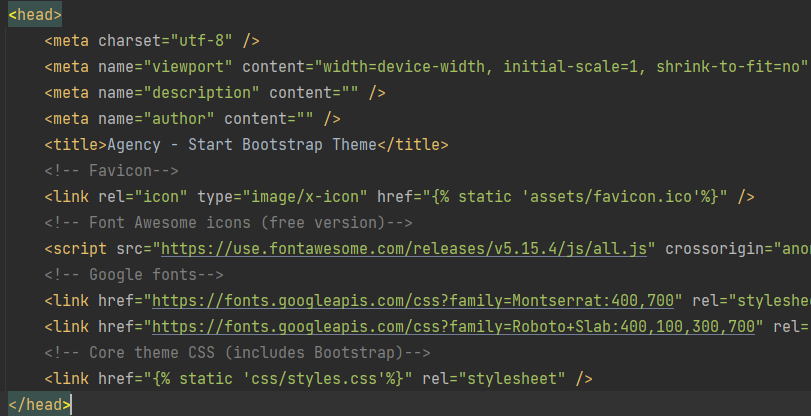
5) index.html 에 {% load static %} 추가
6) head 태그 안에 Favicon, CSS파일 참조하는 경로 변경
-> href="{% static 'assets/favicon.ico'%}"
-> href="{% static 'css/styles.css'%}"
7) body 태그 내에서 asset 폴더 참조하는 경로들 있으면 모두 찾아서 변경
-> src="{% static 'assets/..........'%}"

8) JS파일 참조하는 경로 찾아서 변경
-> src="{% static 'js/scripts.js'%}"

9) 서버 접속 및 반영 확인
- terminal 에서 -> python manage.py runserver 80
- 웹브라우저에서 127.0.0.1 접속하여 확인
10) 프로젝트 압축 파일 생성
- 프로젝트 폴더가 있는 경로로 들어가서 프로젝트 폴더 통째로 압축파일 생성 (myweb.zip)
- zip을 풀면 myweb 폴더가 나와야 함(프로젝트 폴더 내 파일, 폴더들이 풀려서 나오면 안됨)
3. Python Anywhere setting
(프로젝트명 : myweb / 파이썬애니웨어 ID : powerstone829 인 경우)
1) 파이썬 애니웨어 접속 및 회원 가입
https://www.pythonanywhere.com/
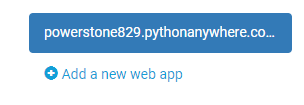
2) Web Setting
- Web -> Add a new web app 클릭하여 생성, Manual 로 생성

3) 프로젝트 파일 업로드
① 파일 업로드

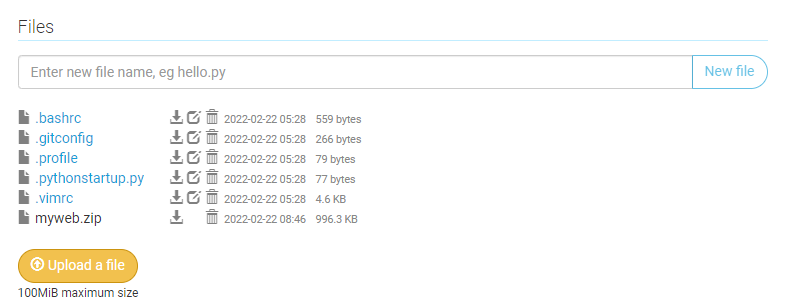
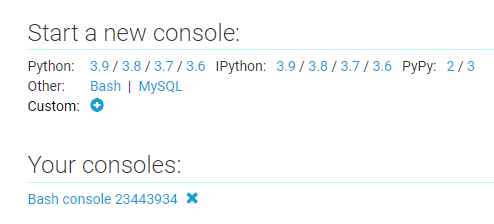
② console로 접속

③ 압축 풀기 명령어 입력(최상위 경로에서) -> unzip myweb.zip
④ 압축 파일 삭제(용량 여유 있으면 안 지워도 됨) -> rm -rf dashboard.zip
3-1) Git 연동 (오늘 수업에서는 안함)
① 해당 Dir 삭제
② git clone https://github.com/leejeani/dashboard
4) venv 생성 (Bash 내에서 명령어 입력, 각 버전을 잘 확인하여 입력)
- virtual environment는 한 번 설정해 놓으면 다른 프로젝트에도 사용할 수 있으므로,
이름을 꼭 mywebenv로 할 필요는 없음
① virtualenv --python=python3.8 mywebenv
② source mywebenv/bin/activate
③ pip install django==4.0.2 --> 무지 오래 걸림..
④ pip install mysqlclient
⑤ pip install django-request-mapping
(⑥ pip freeze) - 오늘 수업에서 안 씀..
5) application 설정 (역시, Bash 내에서)
① 프로젝트 dir로 이동 --> cd myweb
② migrate 실행하여 okay 확인 --> python manage.py migrate
- 없는 경우 필요 lib 설치
- (오늘 수업에서는 temp 프로젝트에서 이미 migrate를 확인해서 migrate 할 것이 없다고 뜸)
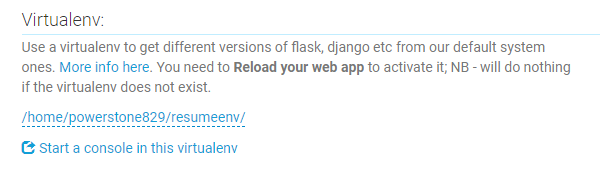
6) Virtual environment 설정
--> /home/powerstone829/mywebenv/

7) Static files 설정
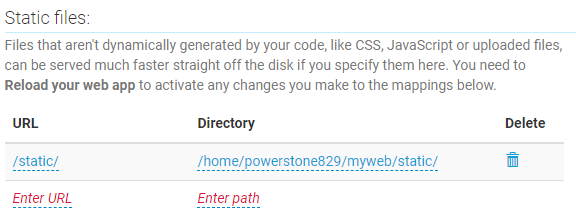
- URL : /static/
- Directory : /home/powerstone829/myweb/static/
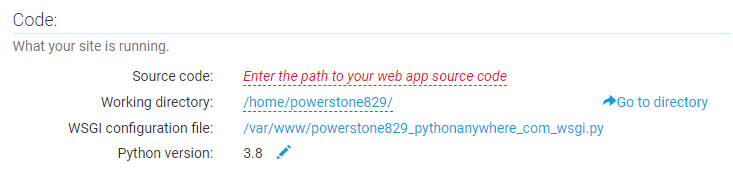
8) wsgi 파일 수정
import os
import sys

path = '/home/powerstone829/myweb/'
if path not in sys.path:
    sys.path.append(path)

os.environ['DJANGO_SETTINGS_MODULE'] = 'config.settings'

from django.core.wsgi import get_wsgi_application
application = get_wsgi_application()
- 프로젝트가 변경될 경우 path='/home/powerstone829/프로젝트명' 만 변경하여 사용 가능
9) 프로젝트 변경 시
- 위 과정 중 일부만 시행 가능
-> 프로젝트 압축 파일까지 생성한 상태에서
-> 3번의 3), 5), 7), 8) 만 수행
'프로젝트형 IoT 서비스 개발 4회차 > 1. 인터페이스 개발' 카테고리의 다른 글
| [Day23] 2022-02-28(월) Web Application 4 - Django 활용 - 이진만 강사님 (0) | 2022.03.01 |
|---|---|
| [Day21] 2022-02-24(목) Web Application 3 - Django ORM 셋팅 - 이진만 강사님 (0) | 2022.02.24 |
| [Day18] 2022-02-21(월) Web Application 1 - Django 환경 셋팅 - 이진만 강사님 (0) | 2022.02.21 |
| [Day17] 2022-02-18(금) MariaDB 3 - SQL 고급 - 이진만 강사님 (0) | 2022.02.18 |
| [Day16] 2022-02-17(목) MariaDB 2 - SQL 기본 - 이진만 강사님 (0) | 2022.02.17 |
